Thursday, December 1, 2011

A Christmas Shadow Box

Hello Crafters!

It's officially December now! Is everyone ready for Christmas? I know I am. The tree is up. The lights are on. The stockings are hung. The presents are (not) bought and (not) wrapped - which means that it's time to play, right? Today we are making a quick and easy home decor project that is great for showcasing your ever-growing collection of Christmas photos. I've actually made 2 of these so far. My mom saw the one I made for the store and asked me to make her one, too. Which brings me to the next idea - these make AMAZING Christmas presents for grandparents. Just use a 4x6 photo of their favorite grandchildren with Santa, wrap it up, and Voila! Santa pictures on Gramma's desk at work for her friends to oooh and aaah over! Perfect! (And it only takes 30-45 minutes to make! Quick, easy, and fun!)

First, gather your supplies: a 7 Gypsies shadow box ($9.95 at the store - comes in black or white!), poinsettia flowers (25 in a pack for less than $2! My kind of embellishment!), some Christmasy patterned papers (I used some from Theresa Collins, My Mind's Eye Lost and Found Christmas, and Basic Grey), black cardstock, label stickers from My Mind's Eye (I think I've used some of these on just about every project I've done the last few months - I'm in loooove), a big, pretty brad, bakers twine (5 yards for $1!), Tim Holtz Distress Stains in Forest Moss and Antique Linen, and some Distress Stickles. (You can see some 7 Gypsies tags in the photo below, but I ended up not using them.)


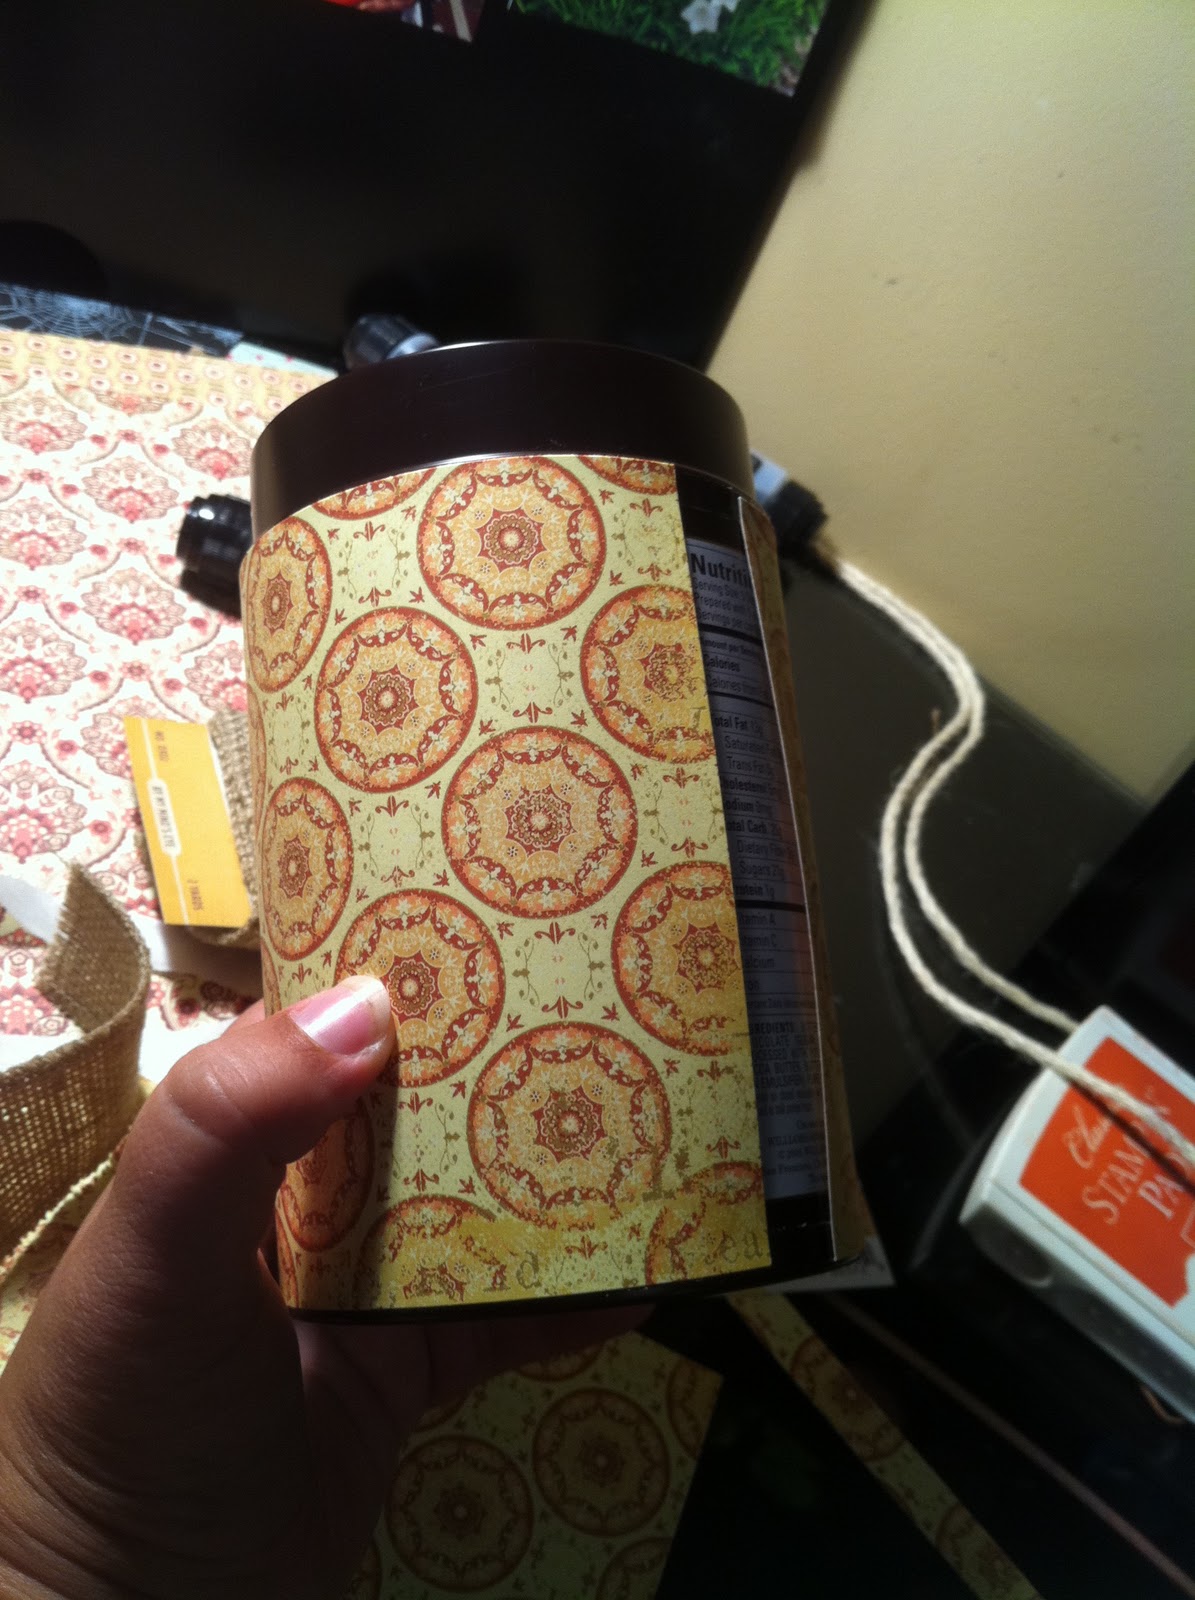
Now comes the 'hardest' (lol - j/k) part of this project - trimming. You need to measure the little squares on the side of the shadow box and cut 3 squares of patterned paper to size (I think they were just under 2 inches square, but I'm not positive).


Punch out the 'December 25th' element from the Theresa Collins Christmas paper. It is very white. I wanted more of a vintage look on this project, so I used my Anique Linen distress stain to color over the white. My label is now ivory! Perfect!


I also decided that I didn't want the white dots on the Theresa Collins paper to be white. I tried the Antique Linen first, but then decided I wanted it to be green. Forest Moss worked perfectly. You can see the difference between the original white, the Antique Linen, and the Forest Moss in the next picture, so you can pick whichever look you prefer.


Next, apply a thin layer of Distress Stickles to the poinsettia petals with your finger. Distress Stickles work best with a light touch. They are designed to appear like glittery, glass flecks of color on your element. If you want a thicker look, let your first layer dry, then apply an additional layer, instead of making your first layer thick. While the Stickles dry, layer your 'December 25th' punched circle onto some black cardstock (I die-cut mine into a snowflake shape for a bit of variety) and then onto a larger punched circle of patterned paper. Poke the brad through your flowers, attach it to your tag, then tie some baker's twine around it.


Now matte a few label stickers on cardstock or patterned paper. Place about 1/3-1/2 of a label on each of your patterned paper squares and adhere into your shadow box. If you want to add chipboard monograms or other decorations to your squares, be sure to do it BEFORE you adhere them into the shadow box (Trust me. It just works better this way. Learn from my mistakes :)


Glue on your 'December 25th' tag element to the edges of the shadow box using Diamond Glaze or another clear, liquid glue.


Lastly, adhere your photo into the box to complete your project.


And now I would like to remind you that ScrapHappy's 3 Year Anniversary party is coming up next weekend, on December 10. We'll have a photo booth, make-and-takes of Tim Holtz's 12 Tags of Christmas, sales, and a birthday cake. Come shop and play with us as we spend the day crafting together! I look forward to meeting you!
- Cori

Friday, November 18, 2011

Thanksgiving Scribble Scrabble Placemat

Ok. So I told you guys that I would post my placemat once I had it done, and now here it is! It's actually already in the shop on the Thanksgiving table with all the other fun, beautiful table settings from the other Design Team members - so if you want to go see it in real life, then you know where to find it :)

And now, on to our project of the day... First, gather your supplies. For this placemat, you'll need a sheet of cardstock, as well as multiple coordinating strips of patterned paper. Scraps work especially well for this. And my favorite part - those strips of paper on the bottom of your patterned paper that have the paper title, company, and SKU numbers? Many companies are now making one side of that strip usable, and lucky for us, the Scribble Scrabble line is one of those papers with a usable strip!


Take your spiffy Tim Holtz ruler with all the holes in it (If you don't already have one, you NEED this ruler. It makes measuring equal spaces for brads so very easy. Let Christy know if you want one! They're wonderful!!!)...Anyhow, where was I? Oh yeah, mark some dots on your base paper at equal distances. I marked mine about every inch across the entire width of the paper.


Now take your trimmer and cut lines across the base paper, starting at each dot that you've marked. Make sure you leave about an inch on both ends so that you have a good support for your weaving.


Next, cut several strips from your other patterned papers. Depending on the look you want, you can either cut them the same width, or vary the widths. It's all up to you.


And now it's Back to School Time. Remember Weaving 101 in elementary school? We're going to have a refresher course. Weave one strip at a time through your base paper. Over. Under. Over. Under. Over. Under.


As you finish weaving a strip, smoosh it to the edge next to the previous strip. The closer you smoosh a strip to its neighbor, the tighter your weave will be. If you want a loose weave, just don't smoosh the strips too tightly.


And here's the backside. See the SKU and company codes on the strips? Love when I get to use every inch of my patterned papers.


After you finish weaving all your strips and smooshing them together, use some adhesive to tack the loose ends down. Next, trim off about 1/4 inch from each side and mount on your cardstock.


And here's the full place setting! Blessings can. Name card. Napkin ring. And placemat. Remember that you can find the whole collection, as well as the gorgeous patterned papers and stickers, in the store.

Happy Crafting!
- Cori

Monday, November 14, 2011

More Scribble Scrabble Goodness

November 4, 2011

Hello, Crafters!
Yesterday I showed you my Thanksgiving Blessings Can. Today, I thought I would show you some more of my place setting: the name card and the napkin ring. I would show you the placemat now, but, well, it's not quite done yet. Oops. Oh well. I promise to show it once it's finished :) Anyhow...Remember that you can see this place setting, as well as the place settings from the other Design Team members, in the store.


First, the napkin ring. Easy, peasy. Remember that red tape we used yesterday? We're going to use it again today. Use it to attach some of your leftover Distress-Stained ribbon to your burlap ribbon that you've cut long enough to hold a napkin. Staple the ends together to make a loopy ring. Punch a cardstock circle (or cover a chipboard circle with patterned paper like we did yesterday), and red tape it over the seam of your napkin ring. Layer another Distress-stained circle over the top of your first circle. Tie a knot in a scrap of your Distress-stained ribbon. Cover the top circle with diamond glaze and lay the knot into the glue to dry. That's it! Easy, huh? Especially since we were just using leftovers and scraps from yesterday's project!


And now for the name card... Cut a length of patterned paper (mine is approximately 2x6 inches - I'm just guessing here. I don't measure), and fold it in half. Ink the edges with brown ink. Cut a strip of coordinating paper 1/2x3 inches and layer on the front of your card. Choose a My Mind's Eye Lost and Found 2 label sticker, mat it on patterned paper, and attach it to the top. Add 2 brads to decorate. Write or stamp the name of the person who's seat this will be with brown ink.


Open your card. Cut a small rectangle of ledger paper or a piece of coordinating cardstock, and glue it to the inside as a small journalling spot. Stamp or write the words. "Grateful for:" at the top. Provide a pen so your guests can write what they are grateful for during Thanksgiving dinner. After dinner, reclaim your craftiness (hehehe) and add it to a scrapbook page - Journalling Done!


Enjoy! I hope you have fun crafting your fall tables!
- Cori

Thanksgiving Blessings Can

Nov. 3, 2011
Hello All!

I hope everyone has recovered from their sugar overload this past weekend and is having fun scrapping their Halloween festivities! But, in case you are ready to move on to our next fall holiday, I would like to show you how I made my Blessings Can for this Thanksgiving. Christy has asked each of us to design a fall table setting to help everyone get in the mood, and you can find these place settings in the store if you want to see them in real life. I have been playing with the new Scribble Scrabble line of papers, embellishments from My Mind's Eye Lost and Found 2 line, Tim Holtz distress stains, and some super-fun dyeable ribbon that Christy has in the store.


First, gather your supplies. Find a can that you would like to alter. I had this hot chocolate can left over from last winter, so that's what I used, but any can will work.


Measure and cut your paper to go around your can. My paper wouldn't completely cover the entire circumference, so I cut some coordinating paper to fill in the gaps.


Line the edges of your paper with tacky red tape. This tape is AWESOME. Nothing sticks better. It holds everything. I love it. It is my go-to adhesive for ribbon, fibers, and chipboard, as well as for hard-to-stick items like metal cans.


Peel the red liner off and tape the paper to your can, being careful to line the edges up the first time. The Good News: this red tape sticks WELL. The Bad News: if you goof and stick it wrong, your paper may tear when you try to reposition it. Bottom Line: Be careful. You have been warned :)

Next, measure and cut your My Mind's Eye Burlap Ribbon to fit around the can.


Pick out what colors of Tim Holtz Distress Stain that you want to use to colorize your ribbon. I used Antique Linen, Mustard Seed, Frayed Burlap, and Brushed Corduroy. Lay out the ribbon on your non-stick craft mat so that when you ink the ribbon, you can still use the excess ink, and it won't be wasted.


Dab some ink directly onto the craft mat. Dabbing multiple colors will give a multi-colored, dimensional look to the ribbon.


Swirl your ribbon around in the ink on the craft mat to soak up the ink. This gives the ribbon a nice splotchy, inky look (If you want your ink to be even all the way down the ribbon, then apply the ink dabber directly to the ribbon. Both ways work. They just give different results. Have fun experimenting).


Add a line of red tape down the center of the burlap ribbon, and adhere the inked ribbon to the burlap ribbon.


Add another line of tacky red tap to the back of the burlap ribbon, and adhere it to the can. Again, be careful to place it exactly where you want it to be.


Now go find some old chipboard or die-cut shapes that you have lying around your stash (you know you have some, right?)


Now 'color' your chipboard by dabbing the ink directly onto it. The more layers of ink you dab, the darker the color will be. This ink is amazing and makes it very easy to customize any supplies you may have.


Adhere your chipboard shape to the front of your can (red tape again - detecting a trend?)


Punch a circle to fit on top of your chipboard or die-cut circle and glue it down (glue sticks work well here - need to conserve that precious red tape!)


Pick your favorite label from the Lost and Found 2 sticker sheet and mount on patterned paper scraps. Trim to fit, and ink the edges with brown ink.


Cover your top chipboard circle (which I colorized with Frayed Burlap Distress Stain) with diamond glaze or other clear, liquid glue.


Lay your label sticker into the glue to dry (I added 2 brads to the label first, just to dress it up a little bit).


And now you're done! Once your glue dries, you can fill the can with your written-down blessings or whatever you want! If you go into the store to see mine, I tied tags to candy sticks with Blessings written on the tags. Cute Cute Cute!

Keep reading the blog to see the rest of what we have created. I plan to show my coordinating napkin ring, name card, and even a layout using these same supplies over the next few weeks. Happy Crafting! And most of all, remember your blessings and be grateful for all that you've been given.
- Cori

PS And as always, keep the comments coming! Let us know what you want to learn and know about!

A Scribble Scrabble Layout

Oct. 11, 2011
Hello, Crafters!

Happy Tuesday! I hope everyone had a great weekend and had a chance to play with their favorite scrapbooking toys! Later this month and next month we will all be sharing some ideas for fall and Thanksgiving table decor (Nope. Not yet! You'll just have to keep checking the blog and the store for us to post them!). After finishing my place setting, I had some leftover scraps on my desk, and since I'm a scrapbooker at heart, I decided to use my extra supplies to make a layout. I grabbed some cardstock and some letter stickers off my desk, and here we are...(Sorry about the photo quality. I am having serious printer issues here, and my computer-geek husband has not yet been able to fix it. So I'm having to make-do with less-than-perfect photos. Humpf.)


I started with 4x6 photos and cropped a few of them down so I could have a little breathing room on my page. I cut the patterned paper into strips and into the large circle you see there in the corner (no measurements. I just cut it how I thought it would look good). I used the Making Memories Back to School design card to cut the leaves on my Slice and then covered them with diamond glaze to simulate a faux epoxy look. I used my Brushed Corduroy Distress Stain to colorize the shipping tag before adhering it to the page. From there, I added some lace trim and my title stickers, and voila! It's complete! A simple, quick, and fun layout to help me remember the highlights of last Thanksgiving.

Supplies:
Tim Holtz - kraft resist cardstock, title letter stickers, Distress Stain
Scribble Scrabble - patterned paper
My Mind's Eye Lost and Found 2 - label sticker
Theresa Collins - lace trim
Manila shipping tag, brads, diamond glaze
Sketch - www.bigpictureclasses.com

Happy Crafting!
- Cori

Swirly Twine 'Flowers'

Oct. 5, 2011

Greetings Crafters!
I hope you've been enjoying the blog and the tutorials from my fellow design team members! We've been having a great time planning and creating (and shopping for, of course :) our monthly projects.

I recently got some Glubers (giant glue dots from Cosmo Cricket) from Christy, and I've been staring at them trying to figure out what to do with them. And then Christy gave me some twine to play with (5 yards for $1!), and the mental 'lightbulb' went off! Swirly Twine Flowers! Easy. Fun. And Cute! What more do you need from an embellishment? In my world...Nothing!

First, gather your supplies: Glubers, twine, and whatever you want to use as your flower centers - buttons, brads, etc. You will need a few yards of twine. This project uses a lot. 1 of my packs of twine made 2 Gluber flowers. (NOTE: You can alter the color of your twine with any inks you may have at home - distress inks, distress stains, paints - whatever you want - but I left mine 'as-is' this time around).


Next, peel off the clear plastic liner from your Gluber. The Gluber package has several different sizes of glue dots inside. Make sure to remove the liner from only the dot you want to use so you don't mess up your other precious adhesives. Estimate where the center of your Gluber is, and smoosh (nice technical term, huh?) your twine into place. It doesn't matter if your center placement is perfect, because you're gonig to be covering it up later.


Start swirling your twine in concentric circles around your 'center,' being sure to press the twine down into the Gluber regularly to make it all stick together well.


Keep swirling...

And swirling...

Just keep swirling, swirling, swirling (and if you're not singing like Dori yet, you obviously don't have to watch Finding Nemo nearly as often as I do)...


Ok. We're done swirling. Fun, right? And easy, right? Right. Now, cut your twine and smoosh the end onto the Gluber. If you like your swirly flower the way it is now, then you can be done, and just peel-and-stick it onto your layout or card.


But if you think it looks a little naked and lonely, then glue on your buttons or stick your brads through to finish (adding brads AFTER you stick your flower to your project tends to work a little easier for me, but that's totally up to you).


And here's my finished layout!

Layout supplies:
Patterned paper: My Mind's Eye, October Afternoon, Fancy Pants
Stickers: Crate Paper, Echo Park, Jillybean Soup
Resist Letters and Distress Stain: Tim Holtz
Glubers
Twine, Buttons, and Photo Corners

Hope you enjoy your craftiness. If you have any requests or questions for me or any of the other design team members, please post a comment here.
- Cori