
Nov. 3, 2011
Hello All!
I hope everyone has recovered from their sugar overload this past weekend and is having fun scrapping their Halloween festivities! But, in case you are ready to move on to our next fall holiday, I would like to show you how I made my Blessings Can for this Thanksgiving. Christy has asked each of us to design a fall table setting to help everyone get in the mood, and you can find these place settings in the store if you want to see them in real life. I have been playing with the new Scribble Scrabble line of papers, embellishments from My Mind's Eye Lost and Found 2 line, Tim Holtz distress stains, and some super-fun dyeable ribbon that Christy has in the store.
First, gather your supplies. Find a can that you would like to alter. I had this hot chocolate can left over from last winter, so that's what I used, but any can will work.

Measure and cut your paper to go around your can. My paper wouldn't completely cover the entire circumference, so I cut some coordinating paper to fill in the gaps.
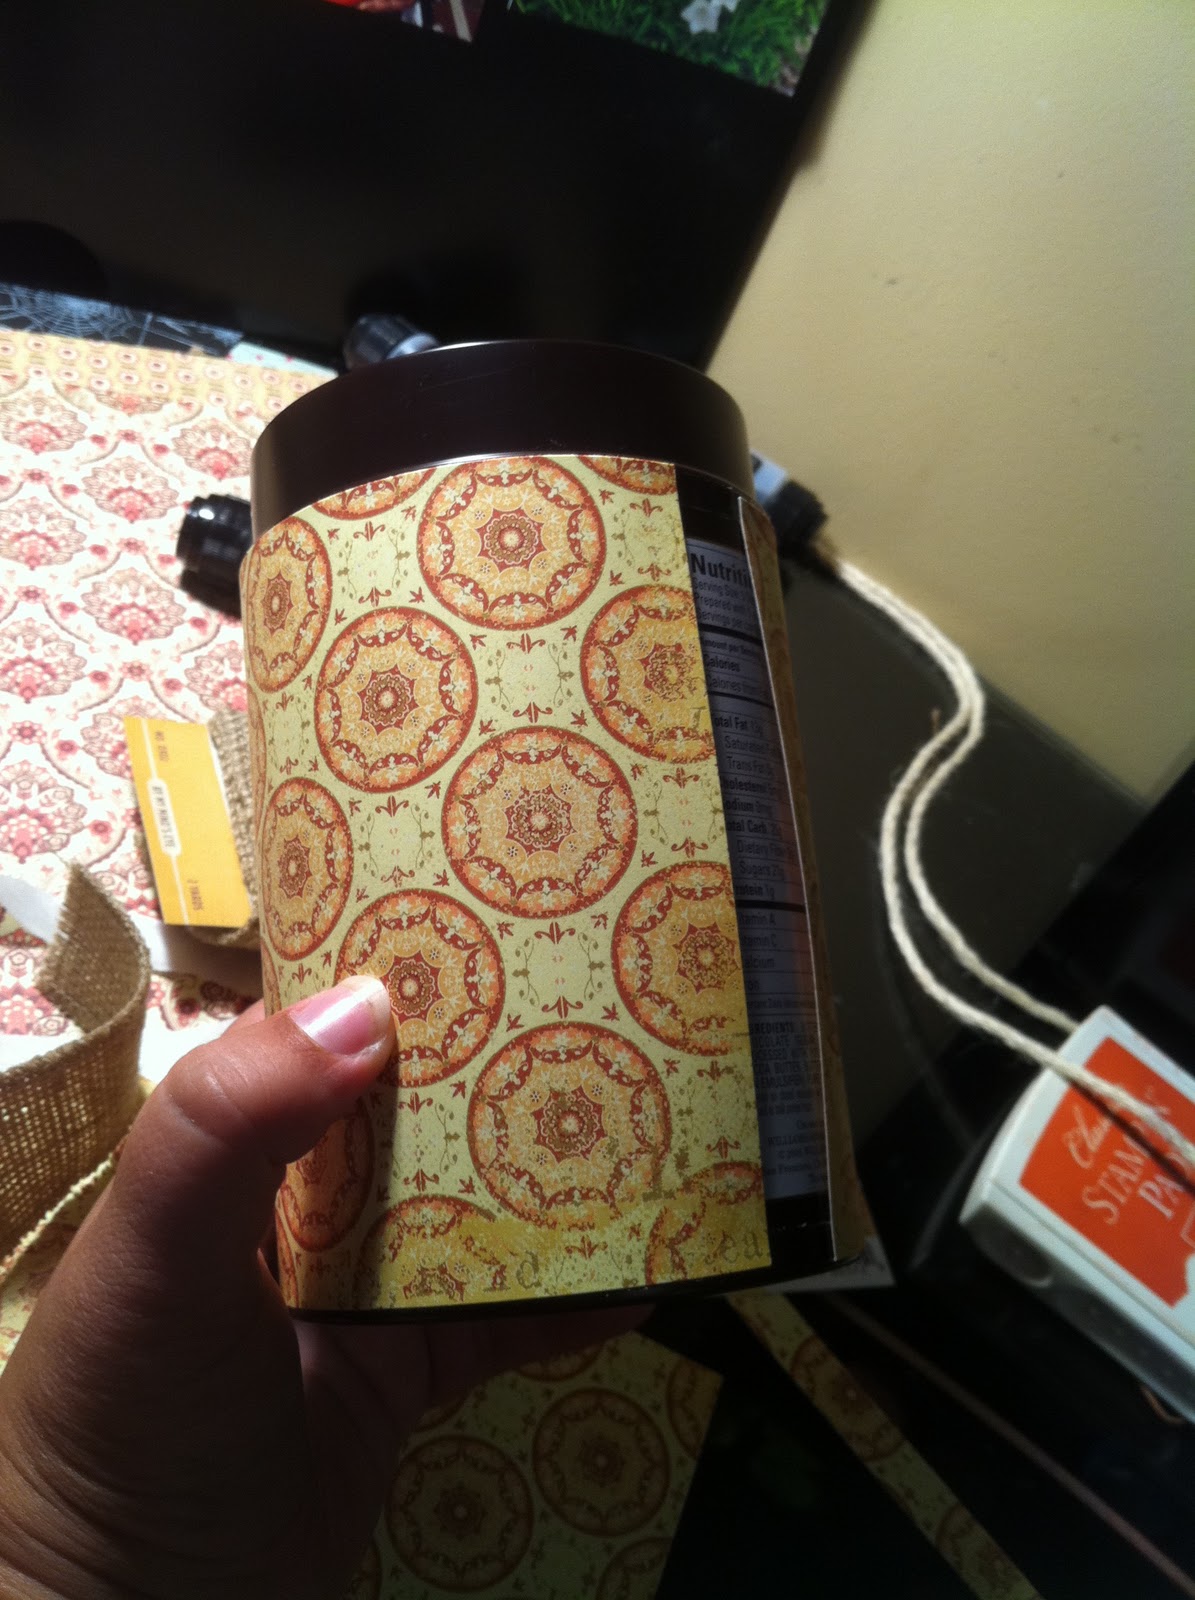
Line the edges of your paper with tacky red tape. This tape is AWESOME. Nothing sticks better. It holds everything. I love it. It is my go-to adhesive for ribbon, fibers, and chipboard, as well as for hard-to-stick items like metal cans.


Peel the red liner off and tape the paper to your can, being careful to line the edges up the first time. The Good News: this red tape sticks WELL. The Bad News: if you goof and stick it wrong, your paper may tear when you try to reposition it. Bottom Line: Be careful. You have been warned :)
Next, measure and cut your My Mind's Eye Burlap Ribbon to fit around the can.

Pick out what colors of Tim Holtz Distress Stain that you want to use to colorize your ribbon. I used Antique Linen, Mustard Seed, Frayed Burlap, and Brushed Corduroy. Lay out the ribbon on your non-stick craft mat so that when you ink the ribbon, you can still use the excess ink, and it won't be wasted.

Dab some ink directly onto the craft mat. Dabbing multiple colors will give a multi-colored, dimensional look to the ribbon.

Swirl your ribbon around in the ink on the craft mat to soak up the ink. This gives the ribbon a nice splotchy, inky look (If you want your ink to be even all the way down the ribbon, then apply the ink dabber directly to the ribbon. Both ways work. They just give different results. Have fun experimenting).

Add a line of red tape down the center of the burlap ribbon, and adhere the inked ribbon to the burlap ribbon.

Add another line of tacky red tap to the back of the burlap ribbon, and adhere it to the can. Again, be careful to place it exactly where you want it to be.

Now go find some old chipboard or die-cut shapes that you have lying around your stash (you know you have some, right?)

Now 'color' your chipboard by dabbing the ink directly onto it. The more layers of ink you dab, the darker the color will be. This ink is amazing and makes it very easy to customize any supplies you may have.

Adhere your chipboard shape to the front of your can (red tape again - detecting a trend?)

Punch a circle to fit on top of your chipboard or die-cut circle and glue it down (glue sticks work well here - need to conserve that precious red tape!)


Pick your favorite label from the Lost and Found 2 sticker sheet and mount on patterned paper scraps. Trim to fit, and ink the edges with brown ink.

Cover your top chipboard circle (which I colorized with Frayed Burlap Distress Stain) with diamond glaze or other clear, liquid glue.

Lay your label sticker into the glue to dry (I added 2 brads to the label first, just to dress it up a little bit).

And now you're done! Once your glue dries, you can fill the can with your written-down blessings or whatever you want! If you go into the store to see mine, I tied tags to candy sticks with Blessings written on the tags. Cute Cute Cute!
Keep reading the blog to see the rest of what we have created. I plan to show my coordinating napkin ring, name card, and even a layout using these same supplies over the next few weeks. Happy Crafting! And most of all, remember your blessings and be grateful for all that you've been given.
- Cori
PS And as always, keep the comments coming! Let us know what you want to learn and know about!
No comments:
Post a Comment