
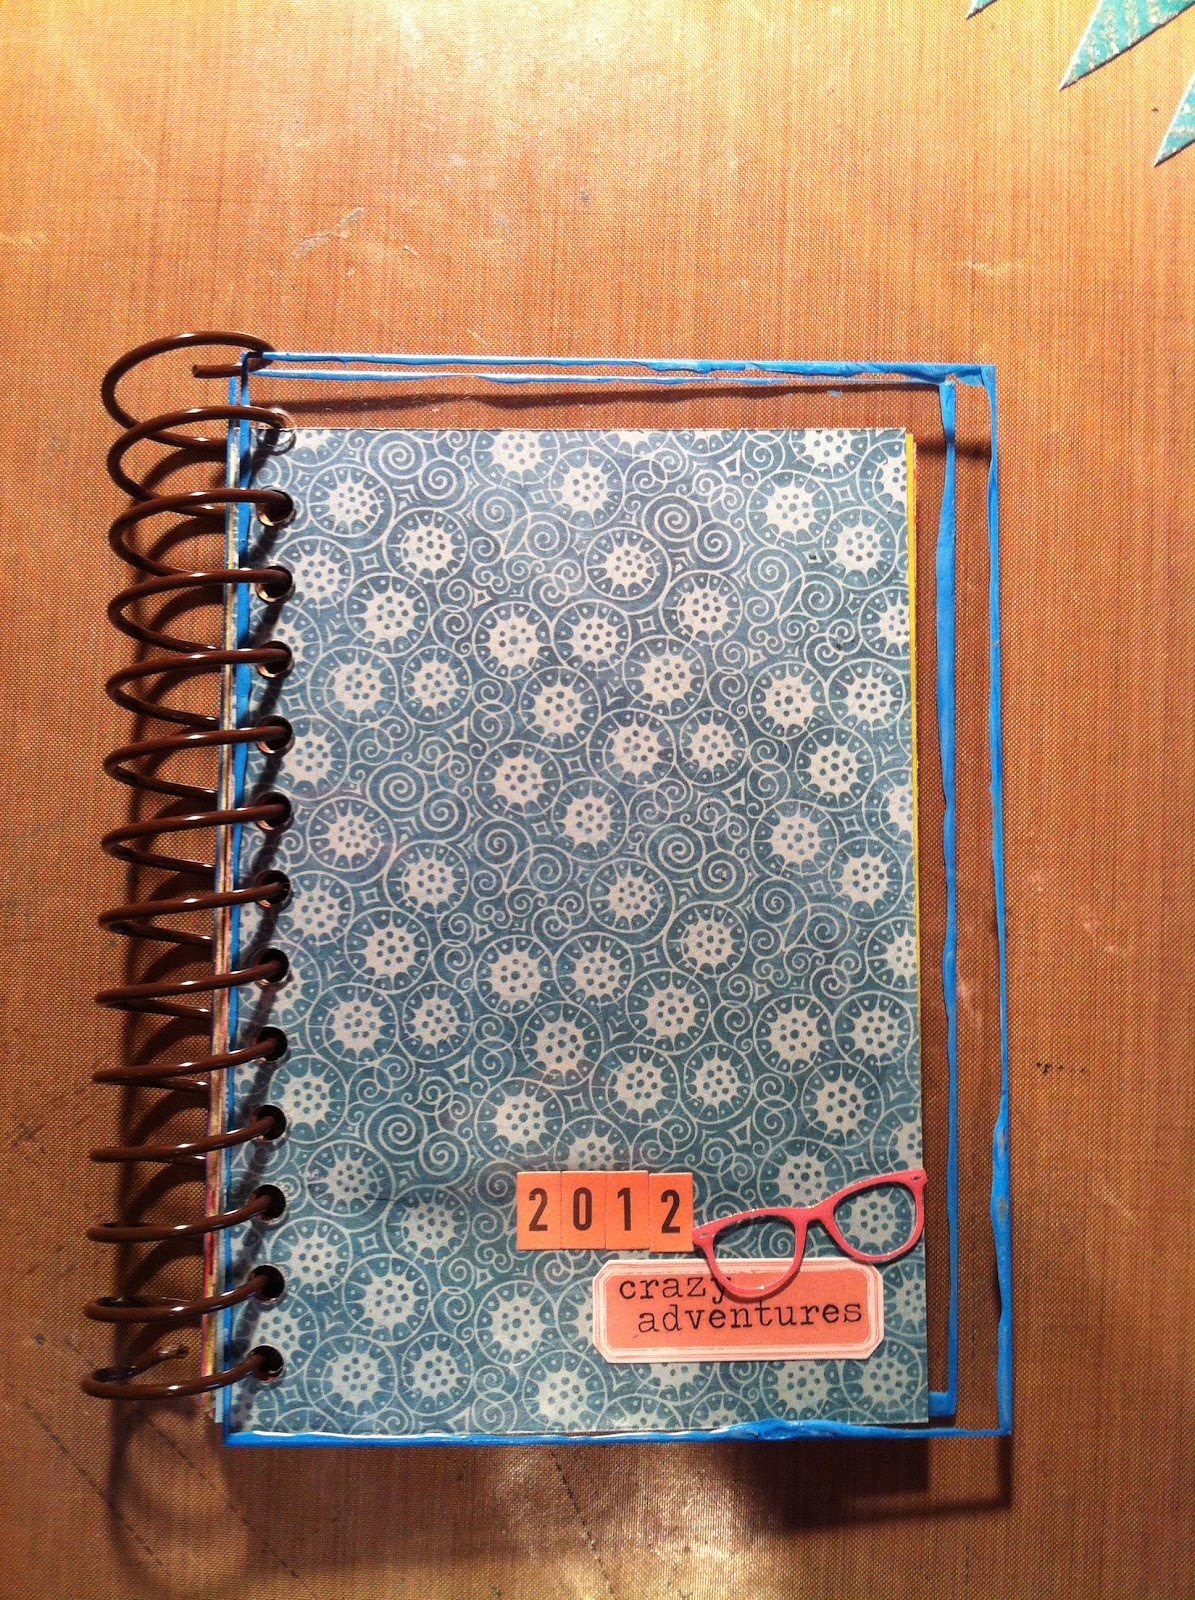
How many of you know what a 'Smashbook' is? It's this really cool premade album filled with patterned papers that you can take your pictures and everyday-bits-of-life (aka ephemera) and just 'smash' them (or glue them) into. You can make it as organized or random as you want. You can fill it from beginning-to-end. Or you can open to a random page and stick stuff in wherever it makes you happy. The only problem with a premade book like this is that you have no control over what the actual papers are. What you buy is what you get, so I'm going to show you how to make your own. Now you can pick the papers and patterns YOU want inside your book.
First step: Pick your papers. I chose the new summery, tropical-themed papers from Graphic45. Now I don't know about you, but I always think these papers are beautiful to look at, but when it comes to actually USING them, my mind goes blank. Fortunately for me (and now you, since I'm going to share), at CHA the Graphic45 people demo'd how to use their papers in a DIY Smashbook!


- patterned paper - Graphic45
- clear acrylic
- white acrylic paint
- letter stickers - October Afternoon
- black washi tape
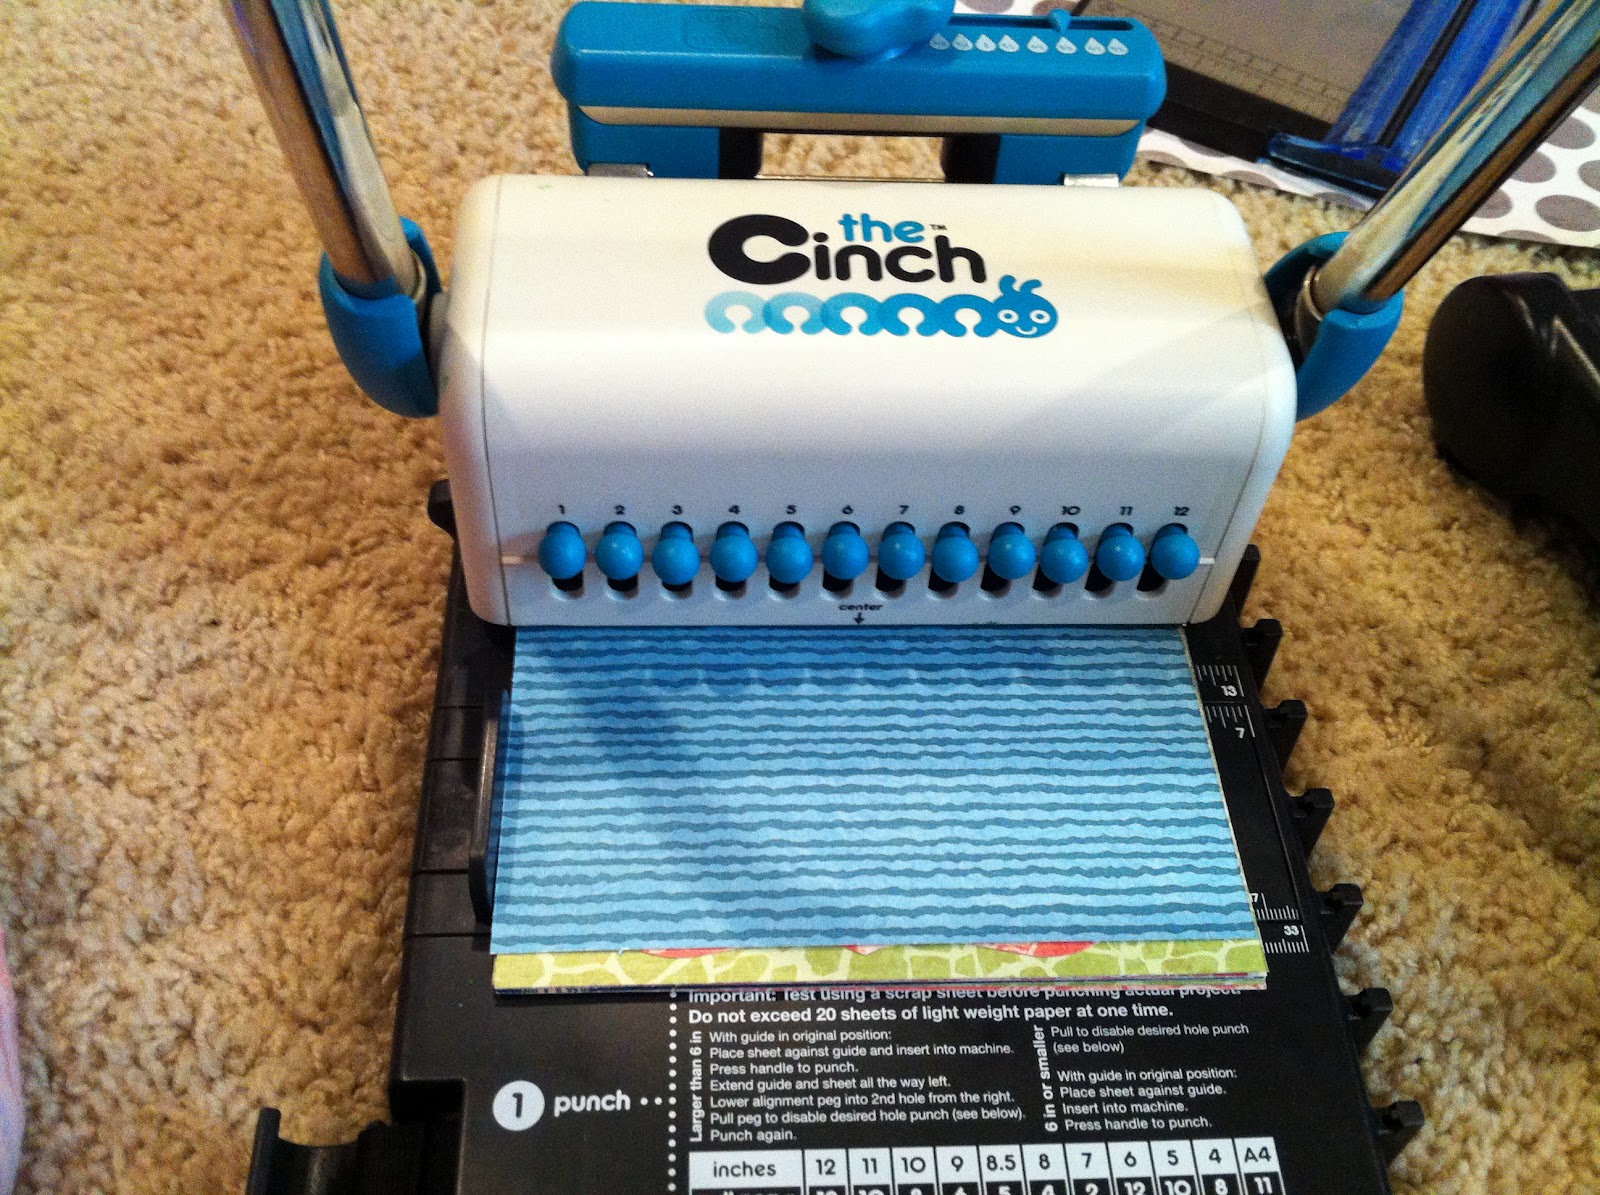
- Cinch binding machine and spiral binding
- Smooch spray mist
- Instax photos
- die-cutter - Big Shot
- scallop die - Spellbinders
No comments:
Post a Comment